1、Get It Started
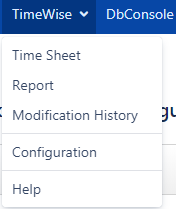
Go to TimeWise > click Configuration > Calendar Scheme Configuration.
You can see all configured schemes on page as below.
2、Restrictions
- Jira-users: can view and copy all schemes, but can edit/delete their own schemes.
Jira-administrators: can view, copy, edit, delete all schemes.
View Copy Edit Own Edit All Delete Own Delete All Jira-users Jira-administrattors
3、Add a Scheme
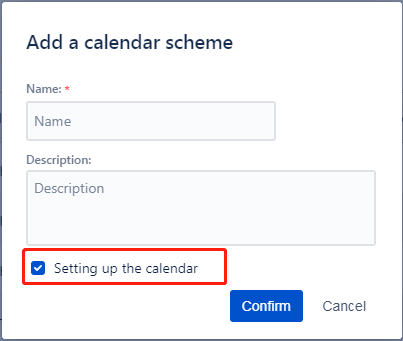
Click Add to create a new calendar scheme. Select Set a calendar scheme and click Confirm, then you can see a page of Scheme settings.
4、Edit, Delete Scheme
- Click Name and Description and edit directly
- Clickto get copy or delete option. These two actions will effect on the whole scheme including all calendars in this schemes
5、View
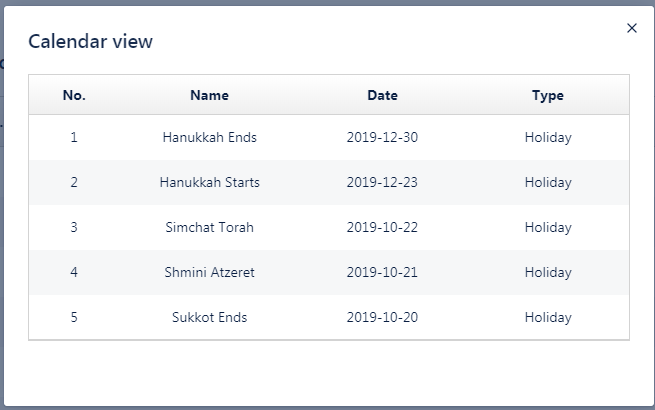
Click view icon, you can see all configured calendars in this schemes as below.
6、Calendar Scheme Configuration
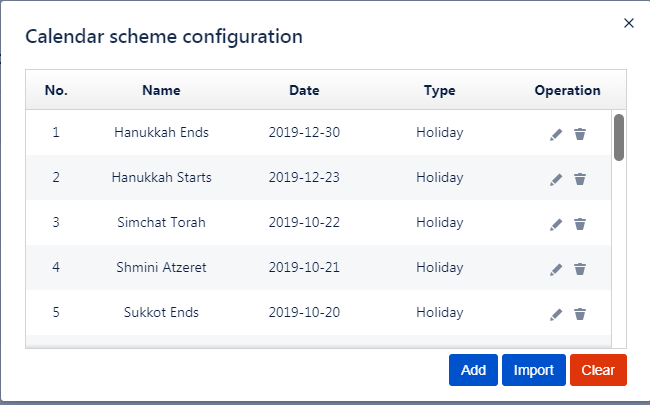
Click setting icon, a pop-out window will provide you edit and delete options for configuring calendars in this scheme.
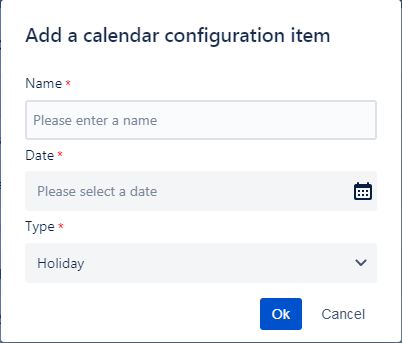
Click Add, insert a new item into the scheme.
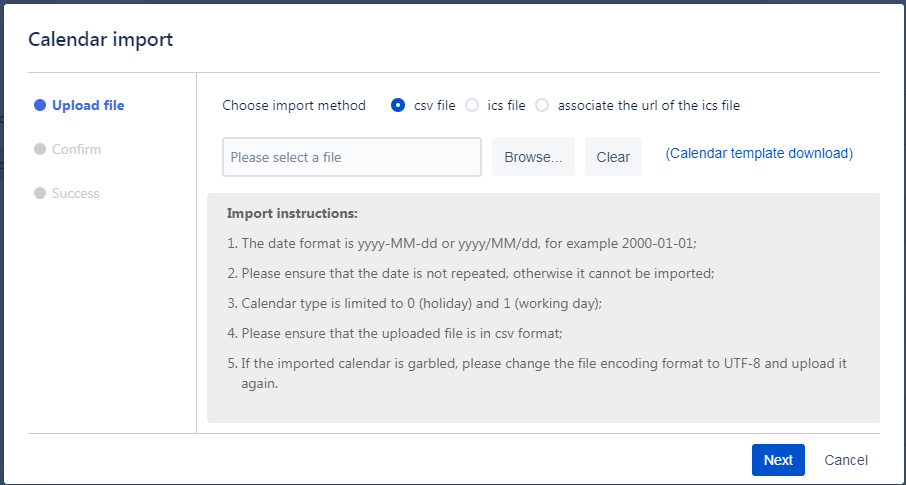
To bulk import calendars, click Import. So far it can support import as CSV, ICS or URL of ICS. Follow the instructions on the page.
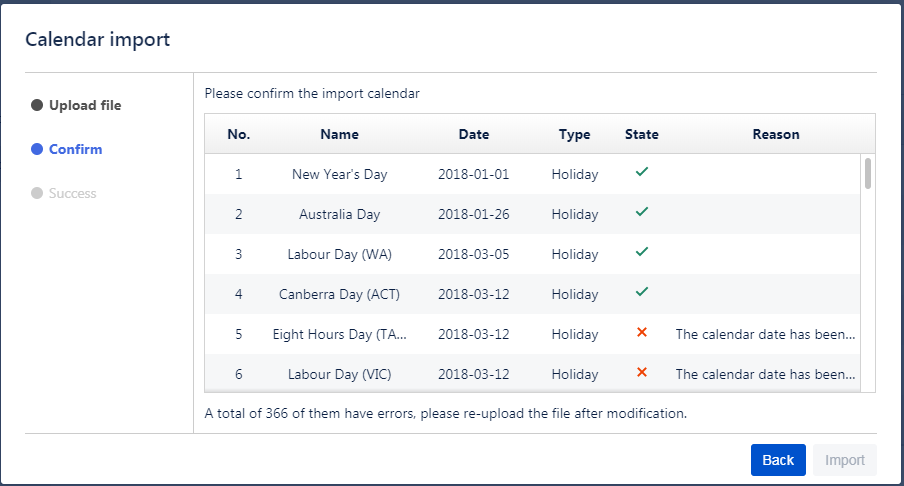
Choose a file or type in URL of availabe iCalendar file,click Next to enter to the Confirm page.
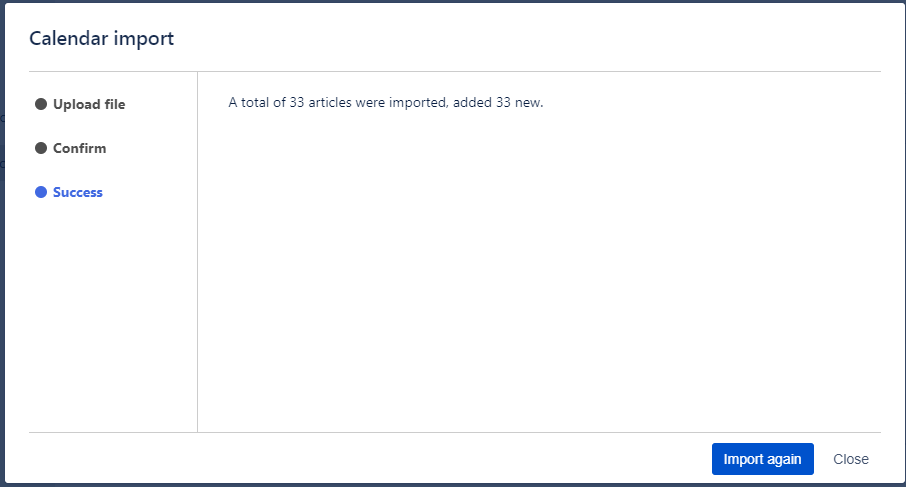
If no error occurs, click Import to enter to the Success page.
